buona lettura ;)
Tutorial 1 (forum NGK Community):
I tre colori usati per il colore di base sono Tamiya: bianco (XF-2), nero (XF-1) e “flat earth” (XF-52).

Si inizia con una lumeggiatura: si aggiunge del bianco al colore di base del pezzo (che non è proprio bianco, ma un grigio chiarissimo) e si spruzza nelle parti centrali di tutte le pannellature.

Successivamente si esegue un’ombreggiatura: con un colore scuro (un misto di nero e “flat earth” ) si evidenziano le pannellature e gli angoli.

Viene quindi data una mano di satinato Model Air, rendendo la superficie adatta per lavaggi e velature.

Si inizia l’invecchiamento coprendo il pezzo con macchie di colori a olio di varie tonalità.

Con un pennello inumidito in acquaragia, si tirano tutti i colori dall’alto in basso.

Ecco il risultato finale:

Successivamente si esegue la profilatura dei pannelli e di tutti gli angoli con colori a olio diluiti in acquaragia.

Se il colore sborda, aspettate che asciughi e pulite con un pennello inumidito in acquaragia.

L’effetto ottenuto è troppo scuro. Per rimediare al colore di base poco bianco, ho fatto delle velature con bianco Vallejo molto diluito.

Sempre con il bianco, aggiungo le prime scrostature.

Con un marrone scuro, faccio le scrostature più profonde.


Successivamente, si crea una colatura di ruggine con smalto Humbrol 62 e olio marrone rossiccio; si mette e si fa asciugare un po’.

Alla fine con un pennello inumidito in acquaragia, si tira in giù il colore, ottenendo l’effetto finale di colatura.

Spero che sia stato di vostro gradimento! Mi dispiace che alla fine il colore non sia propriamente bianco, ma basta mettere meno nero alla miscela di base e il resto del processo di pittura è lo stesso.
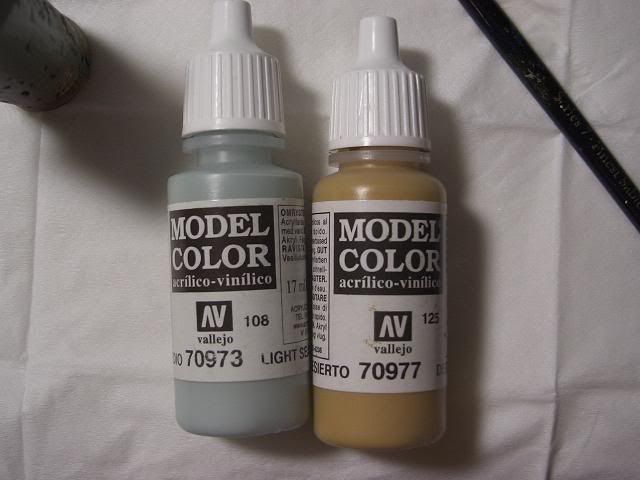
Per le scrostature uso i Model Color, i Tamiya non sono buoni a pennello. Nello specifico, nero e terra d’ombra.

Tutorial 2 (forum OZ Painters):
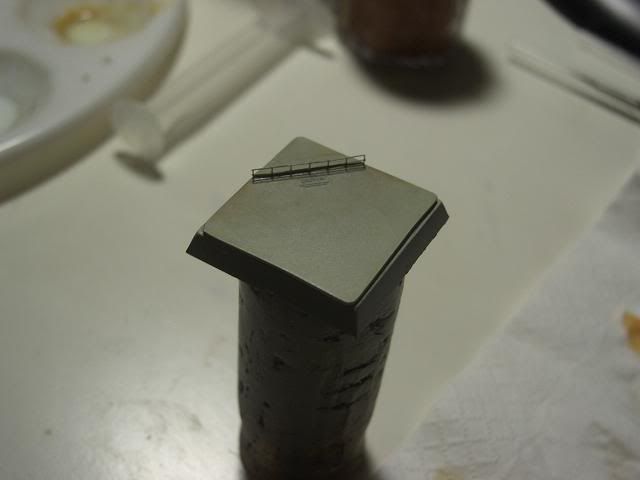
This is a very simple little base.
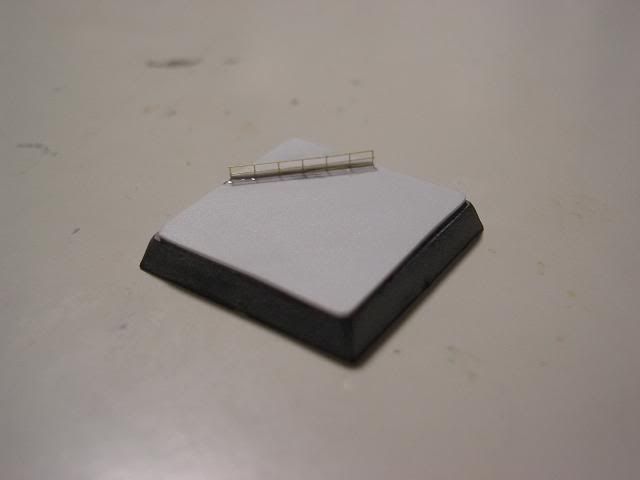
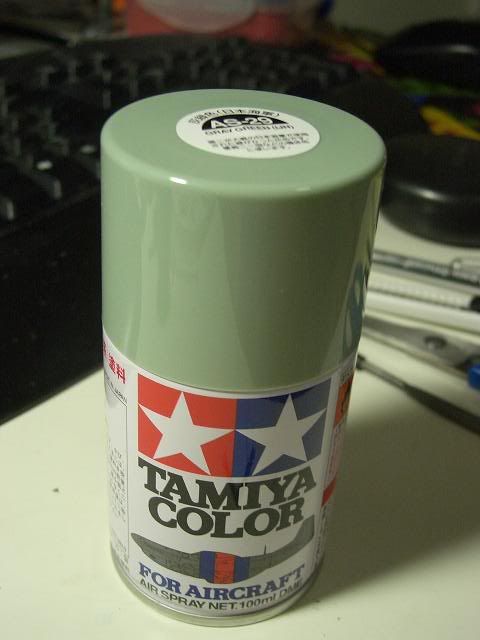
1st spray it with tamiya spray as its base coat and base color
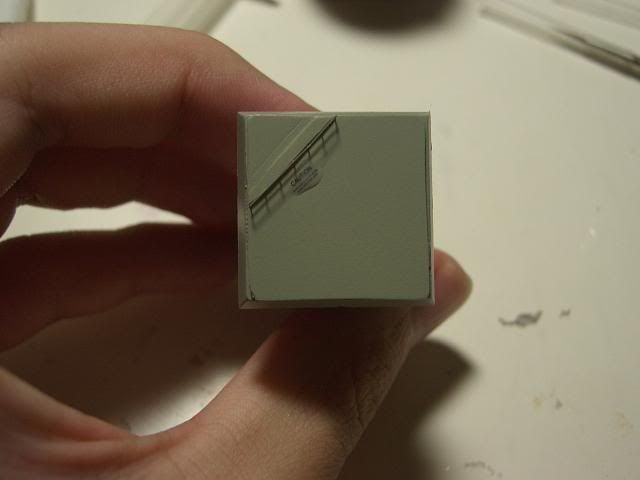
See done and to make the base more fun I put a little sticker on the side
My “caution ” sticker ~~~
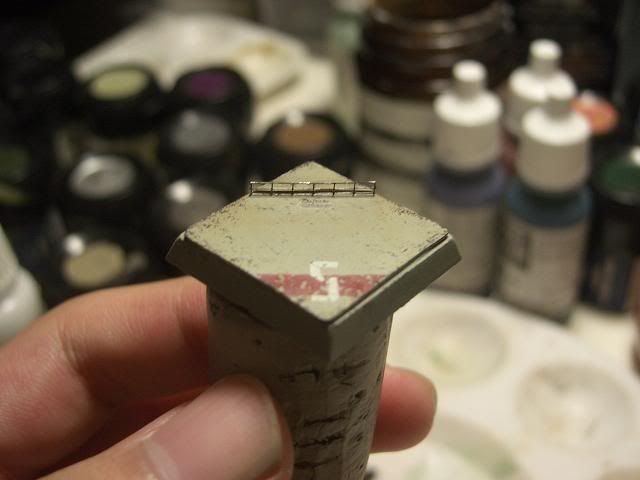
Doing a little high lighting with this 2 colors on the edges
Didn’t see much difference since the photo are pretty heavy
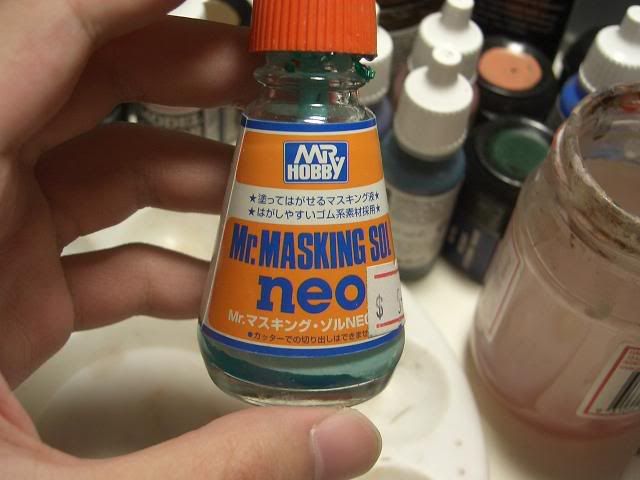
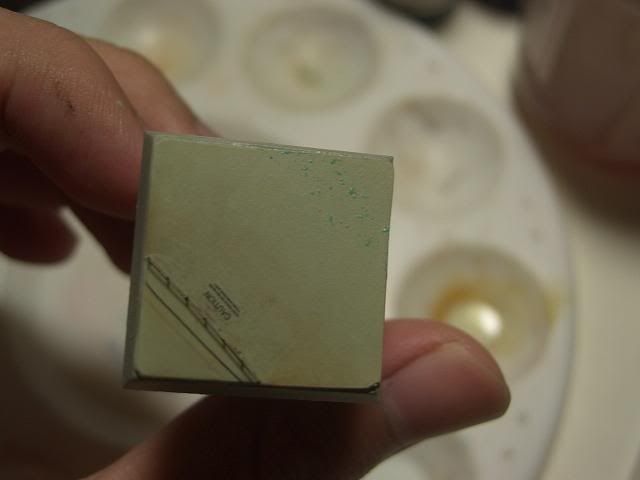
Now here we go the masking stuff .
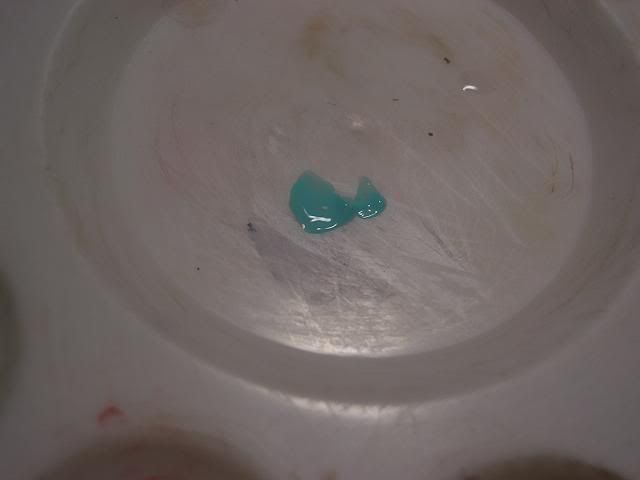
A little masking stuff on the palette
Have a little piece of sponge and dip in the masking stuff
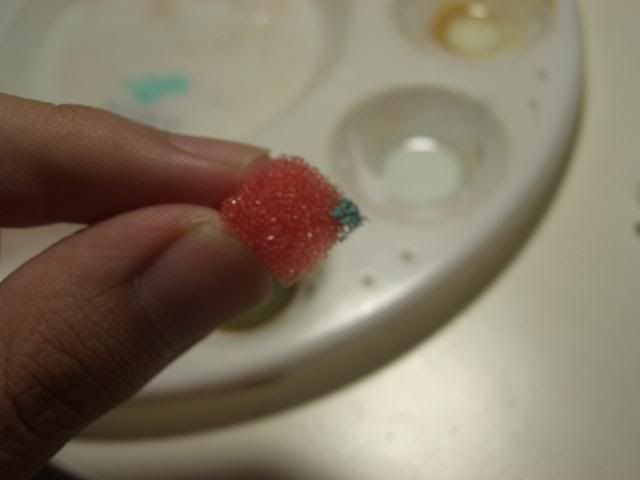
Dab them on the base be pretty careful you don’t want a lot of masking stuff on the base
And you wannna do this pretty quit cuz masking stuff dry pretty quick
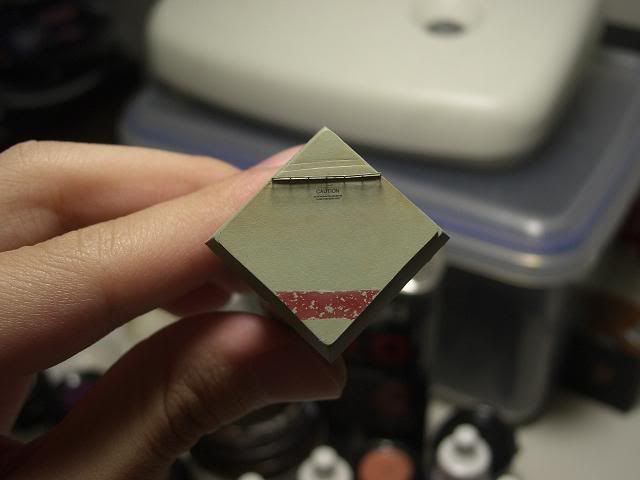
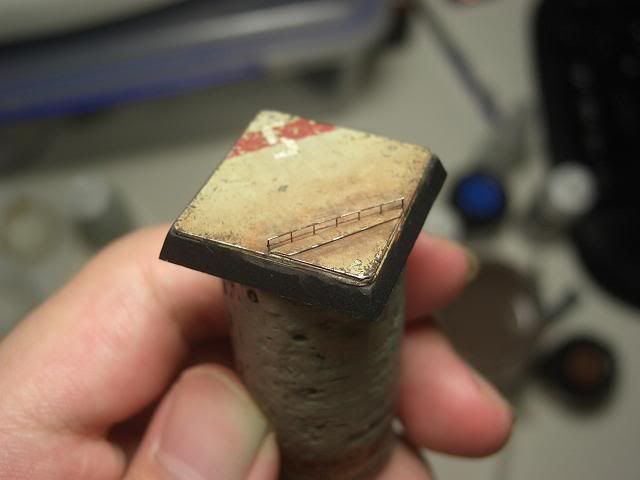
Paint a red line

Stick off the masking stuff with blue tag or you can use other way to get rid of the mask stuff
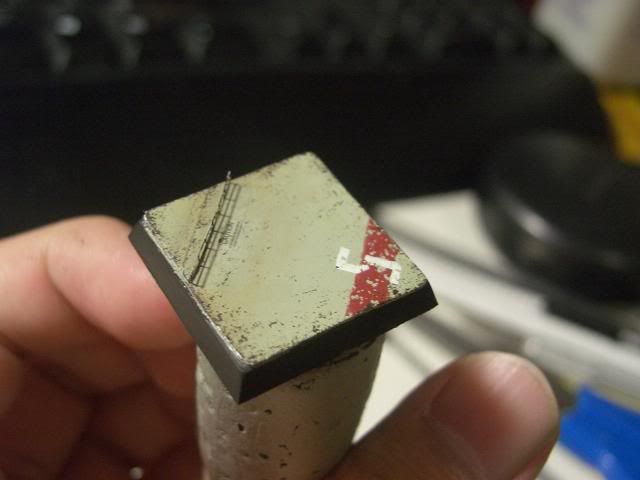
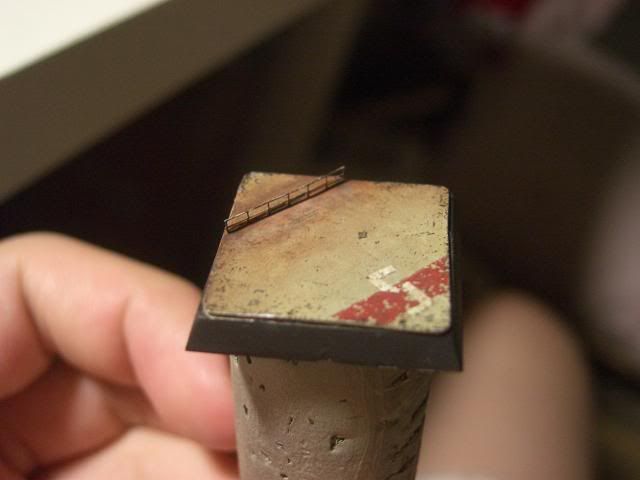
And Here we go the effect
Other number on the line
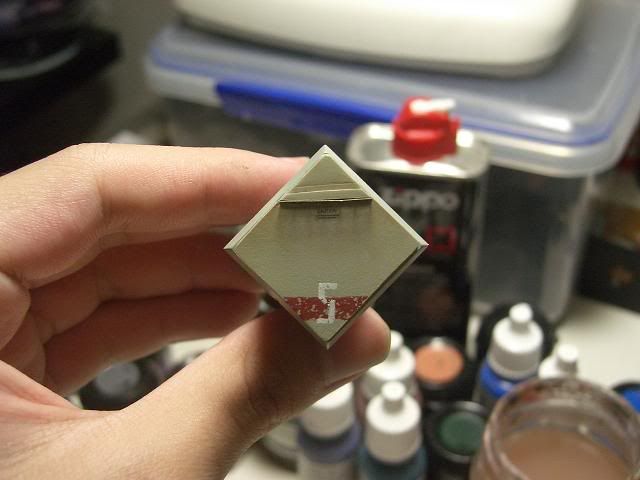
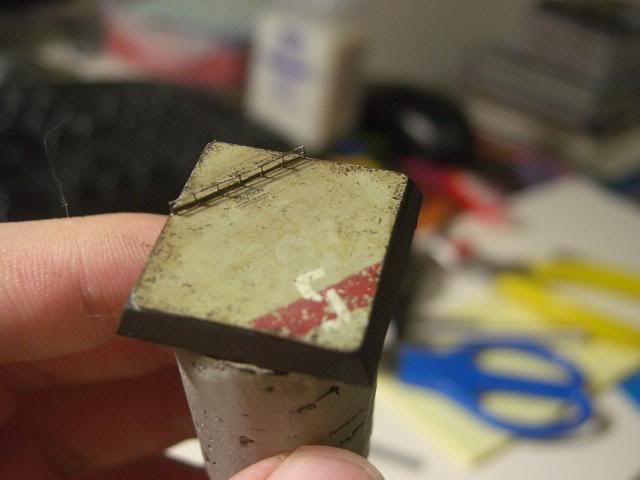
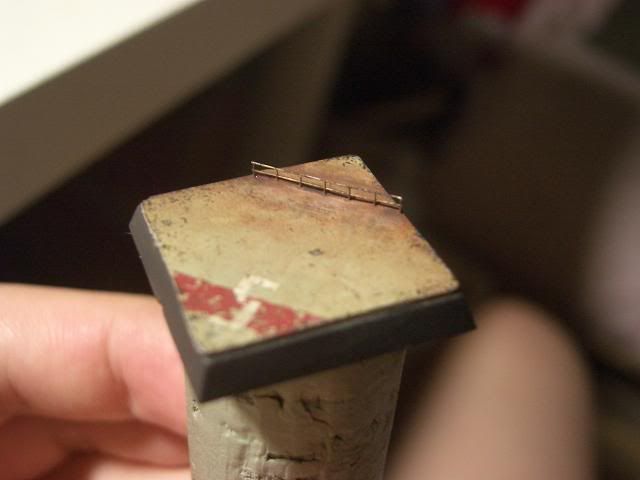
Now doing the damage around the base to make it very “old” by using this color
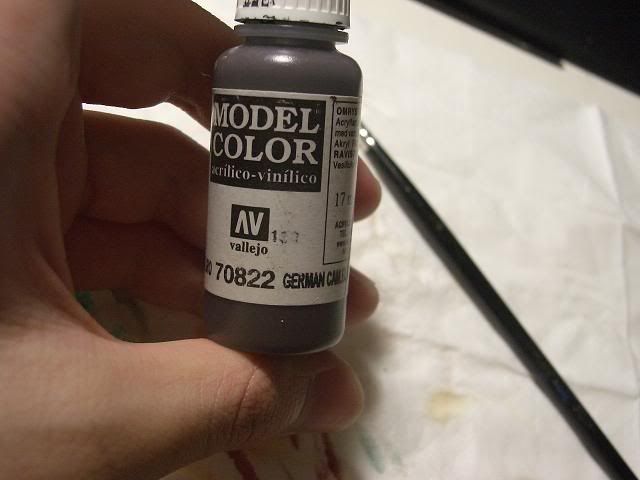
It is a black brown color so if you cant get it anywhere you can mix it

I prefer to do a lot of this black spot damage around the edges you can also try to do a lot of em
In the middle of the base up to you
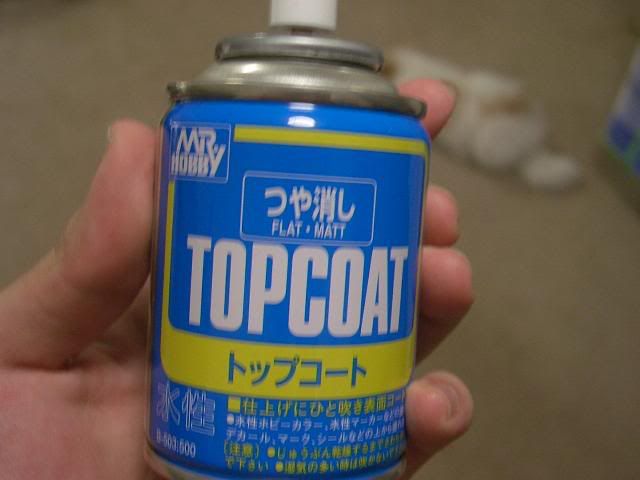
Before the fun part topcoat the base
Alright here we go 1st Windsor and Newton oil colors
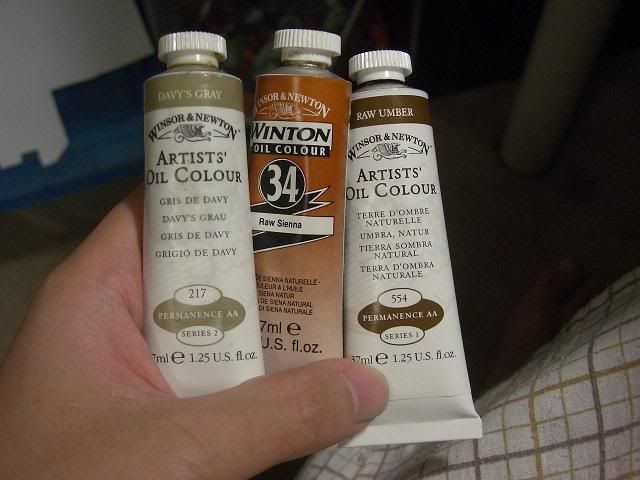
A little of em on the palette ( or paper)
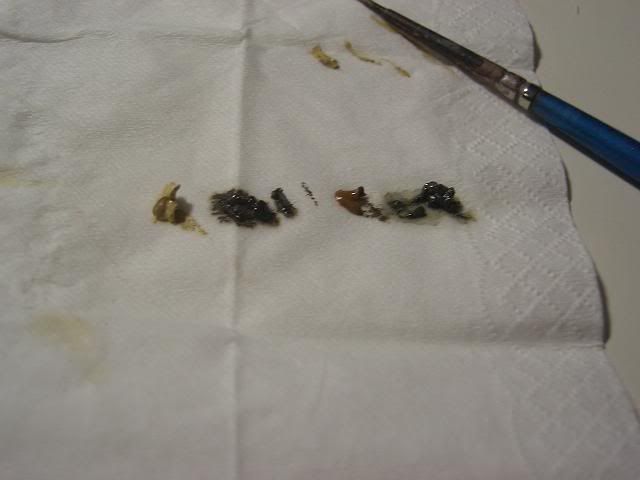
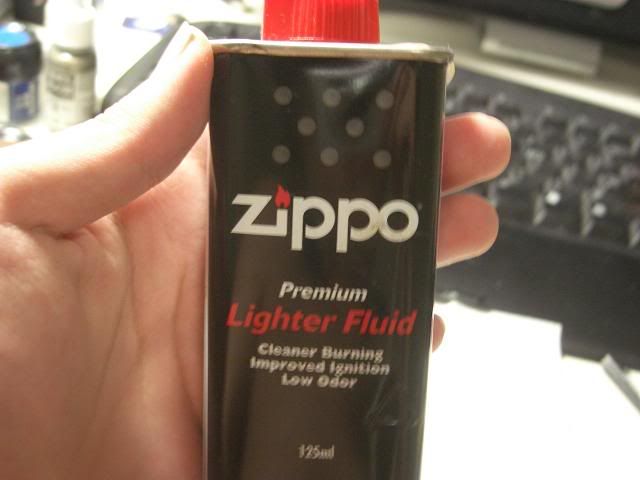
You need zippo oil for the wash
See dab the paints like that
Wash it with zippo oil 1st stage of weathering is done
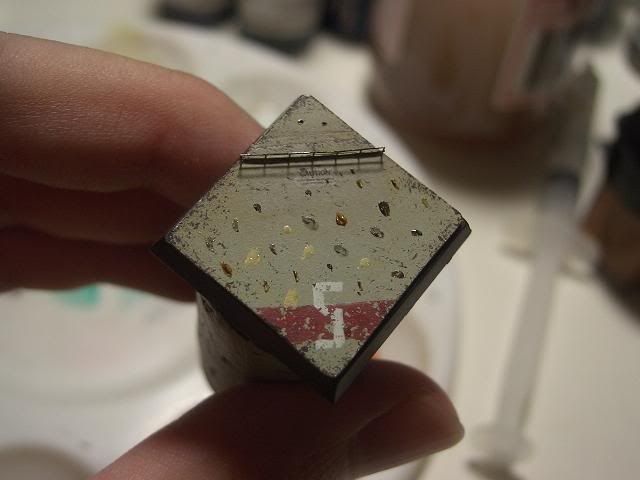
The pigments are for the further round
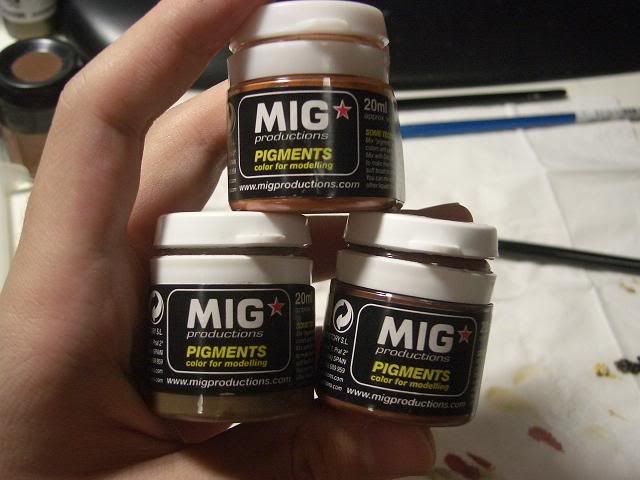
Water them down with oil water whatever you want and paint them to the place you want. After them dry it will have this very dry dusty effect like rust.
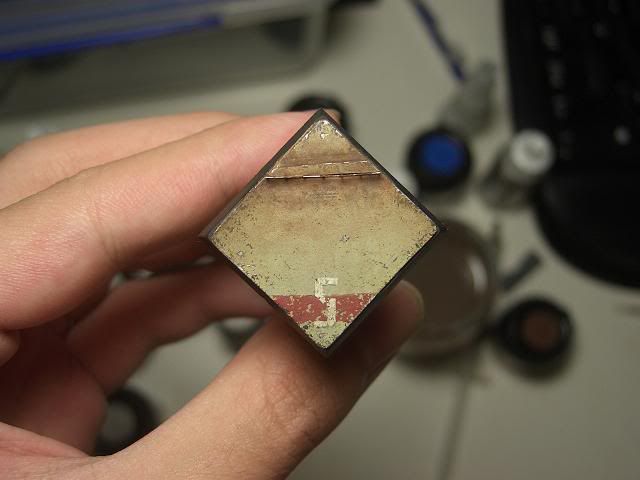
Here we go the final look
The weatherings on armor is a little different but basically pretty much the same
Ill post a article If I have time on how to do weathering on armor
this base is for you Kyle hope you like that mate
anche se il secondo tutorial è in inglese è comunque di semplice comprensione grazie alle immagini esaustive!
alla prossima ragazzi!
Nessun commento:
Posta un commento